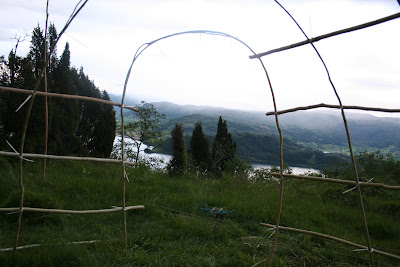
You will need: Young saplings coming from bushes or trees that are elastic/easily bends; like hazel, willow or maple - appr. 40-50 pieces.The saplings should not be more than 2 cm thick at the cutting end of the stem/trunk or else they will be difficult to bend properly. A knife, thin ropes or straps to tie the saplings together and a long, straight crow bar to make holes in the ground.
Find a nice, flat and dry - and of course legal ;) - spot to raise your wooden hut. Measure the preferable size and mark the holes, appr. 30 cm deep, in which the saplings are to be put into the ground. Use even numbers of 20-30 saplings (depending on how big you want your hut). That means 20-30 holes with appr. 40 cm gaps between each one.
For the saplings and hut to last longer you need to strip off the bark with a knife. Remember: this will be a whole lot easier to do from late spring to early summer due to the fresh and smooth sap between the wood and the bark! To make the root-ends of the saplings even more moist and water proof you can coal blacken them just slightly on the outside by holding and twisting them over an open fire.
Put the saplings into the holes with the root-end (the thickest end) first. One facing it's match on the opposite side like shown in the picture.
When all your saplings are put into the ground you bend two and two towards one another to form arcs. Tie them together with ropes and/or straps.
By now you are half way in building the frame of your wooden hut! :)
The rest of your saplings are to be fastened horizontally around the arcs like shown in the picture.
The late, dark evening finally caught up with us. However, just a few more staples around the back and the top and the framework of the hut is done, wohoo!:)
Next you will need something to cover your wooden hut to keep out the bad weather and bugs. You can use branches, turf or moss, a plastic cover (always remember to bring it back home with you!) or like we did; use some old button tent covers that can be bought very cheap from an army retail.
Always remember to rest and enjoy (in) your beautiful creations! :)
A little more work with the cover and we're almost ready to move in!
To be continued...


Ingen kommentarer:
Legg inn en kommentar